Prompt Images
Christmas traditions have changed a lot for me over the years. When I was but a young lad, the weeks leading up to Christmas were celebrated in church with a special wreath with candles laid behind the altar: a symbol of the dawning of Advent. The roughly four-week season—a time of waiting and preparation for the celebration of the birth of Jesus—no longer has the same spiritual importance for me these years.
Instead, I’ve repurposed one of my childhood traditions: the Advent calendar.
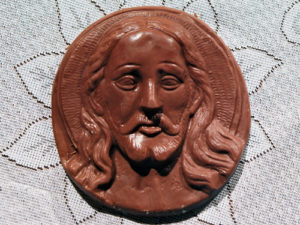
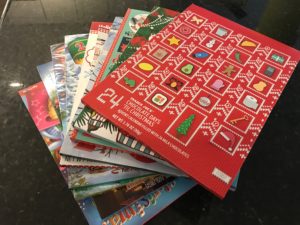
The premise is simple: a cardboard rectangle with 24 perforated doors. Behind each door is a molded chocolate representing a symbol of the Christmas season. As kids, every year starting December 1st, my brother and I had an Advent calendar and took turns opening a door to reveal the daily chocolate, guessing what the shape was supposed to signify. (This continued through Christmas Eve only, presumably because on Christmas Day Jesus is born and is tastier than any earthly chocolate could ever be.)
For the kingdom and the power and the sorbitol are yours, now and forever.
A couple years ago, I bought an Advent calendar again because hey, why not celebrate a youthful tradition and have a good reason to have chocolate every day during the holidays? And these days, social media could make it even more exciting! I could upload pictures of the chocolate, and the literally dozens of people who pay attention to me on Facebook could join the fun and guess what the shape was.
A new annual tradition was born: I’d open a door and snap a picture of the back of the chocolate, post it on Facebook, and let friends and family comment with their guesses at what the shape could be with a reveal the next day. Some folks strove for accuracy, while others took advantage of the somewhat shapeless nature of some of the chocolates and let their imagination run wild. Crucial to the process was rating everyone’s guess with an emoji – ranging from a 🎯 for people who guessed exactly right, to 😞 or 🤔 (meant to indicate the face that peoples’ comments made me make), and many more in between.
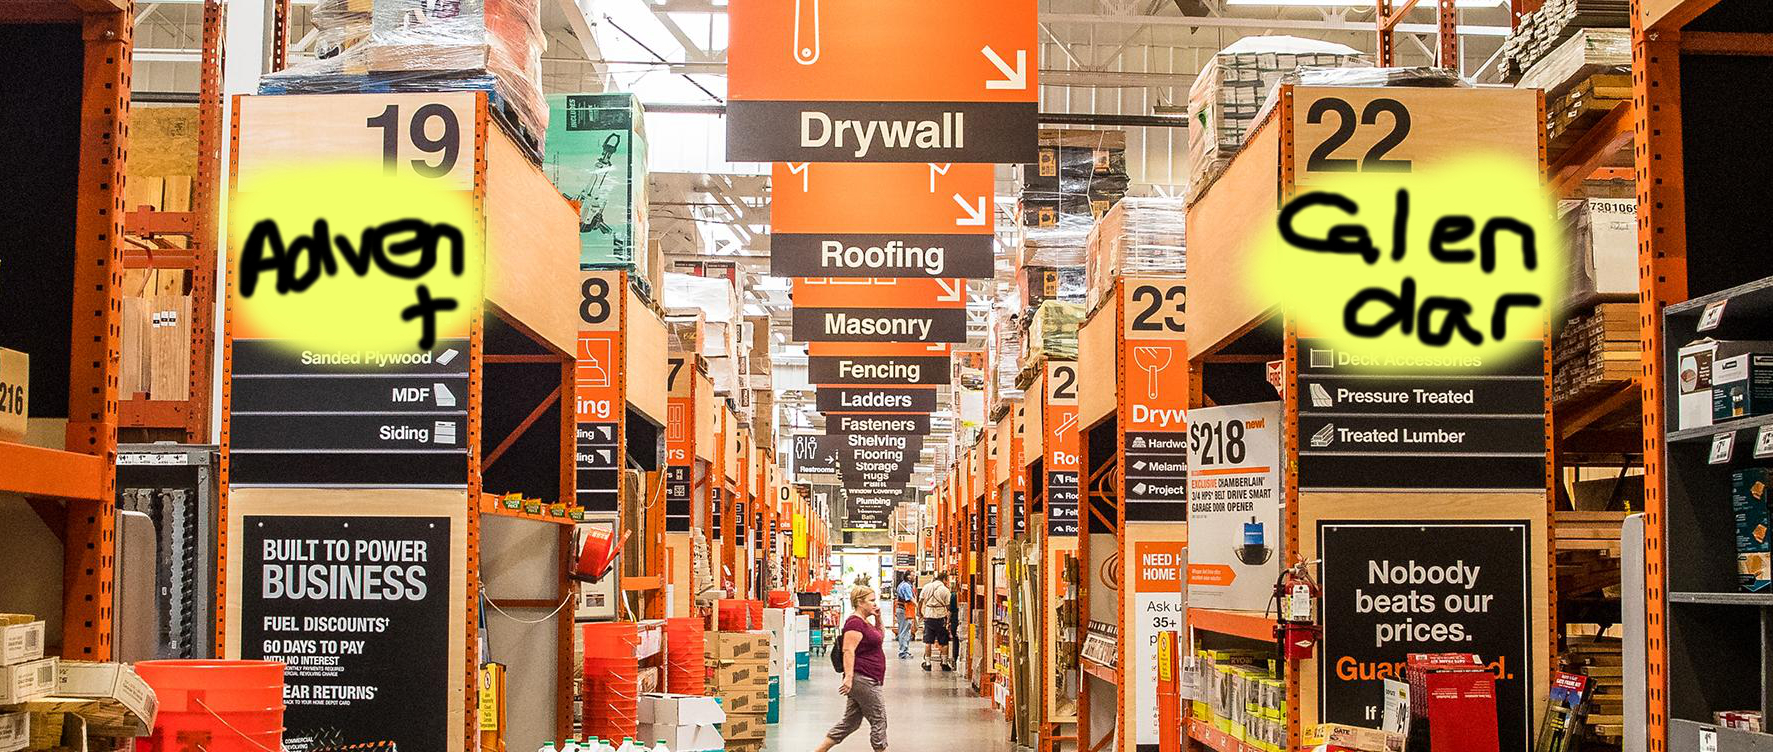
This year, I remembered how December 1st crept up on me in 2017, and got ready ahead of time by buying an Advent calendar in early November. You can imagine my dismay when I opened up the door on December 1st… and saw the same shape as one of the doors on my 2016 calendar.
This couldn’t be! My friends and family wouldn’t tolerate a REPEAT calendar! I realized I’d inadvertently bought a calendar from Trader Joe’s in both 2016 and 2018, and they’d just repurposed the calendar mold. Disgusting, Trader Joe’s. Disgusting. Show some class.
“Easily fixed,” I thought naively as I drove to the nearest grocery store.
As it turns out, it was not so easily fixed.
I learned some important things about Advent calendars this year:
- There are basically two actual companies that make Advent calendars (one of which is Trader Joe’s).
- Each of these two companies makes one calendar each, and reuses them every year. So my 2016 calendar was the same as my 2018 calendar, and my 2017 calendar was made by the other company and was therefore the only other calendar produced out there.
- Anyone else selling an Advent calendar aside from these two companies is a lazy ass and make every chocolate with either a circle- or square-shaped back. (I was not going to deal with an angry horde of a dozens Facebook friends guessing their way through 24 identical shapes.) Looking at you, “Elf on the Shelf” Advent Calendar.
- There are also multiple companies who make sock-themed Advent calendars. What the hell, capitalism? This makes no sense and no one wants this. I hope Adam Smith’s invisible hand smites you out of existence.
14 stores later … and still no calendar I could use.
At this point, I did what every red-blooded American male does when faced with a situation that has frustrated them for more than an hour and they’ve spent more than $10 trying to fix:
I decided I was going to do it myself.
24 days later, I think this was a moderate hit. Although time-consuming, making my own chocolate shapes has led to some great contributions from friends and family. Here are some of this year’s less-horribly-executed chocolates and a few of the more creative interpretations:

If you’re similarly stubborn, feel free to make your own next next year! The following recipe represents the culmination of a lot of tried-and-true “technique” learned from hours of mistakes. It should definitely not be attempted by anyone who wants to start a tradition with their own children, who will ask why you’re doing this to them.
Scott’s “Do It Yourself” Advent Calendar Kit
Ingredients:
- 1 block plastalina modeling clay (CraftSmart or similar)
- 24 ounces of candy melt pieces (Wilton or similar)
- Saran wrap
- Coconut oil
- Q-tips
- Sandwich-size baggies
- Thingamabobs, doodads, or gizmos*
Directions:
- Spread a sheet of Saran Wrap on your desk, table, or other work surface.
- Pull off a piece of modeling clay, and using the palm of your hand, press it flat into a palm-sized disk roughly 1/2″ thick.
- Wash your hands because touching the clay made them feel weird.
- Think of a Christmas- or winter-themed shape, and imagine how you’re going to sculpt it into the clay.
- Look up a picture of the object on your phone and realize you got the proportions all wrong in your mental image. How on earth do you even navigate the physical world, if things look like that in your head?
- Armed with your image, use your doodads* and begin to carve out a negative-space representation of the object into the clay.
- Realize halfway through this would be better with some light, and turn on the overhead light.
- Realize with the light on that your proportions are definitely all wrong. Roll the clay back into a ball and press it flat again.
- Wash your hands because touching the clay made them feel weird.
- Paying better attention to the picture this time, use your doodads* and carve out a negative-space representation of the object into the clay.
- Spend 20 minutes using your fingers to get the bottom of the impression to have a smooth, flat base as though such detail is even going to translate to the actual chocolate.
- Wash your hands because touching the clay made them feel weird.
- Place a small amount of coconut oil in the palm of your non-dominant hand. Wait for it to melt, and then dip the Q-Tip into it. Coat the inside of the clay impression with coconut oil so the chocolate will come out of the mold easily.
- Wash your hands because the oil made them feel weird.
- Pour out 10-15 pieces of candy melt into a Pyrex bowl and microwave per the instructions on the packaging.
- Stop the microwave after 30 seconds when the chocolate starts smoking, and frantically fan the smoke outside of the kitchen, through the front door, and away from the smoke detector before it goes off.
- Scrape the charred remains of the candy melt off the bottom of the Pyrex bowl. Put it in the sink to “soak.”
- Wash your hands because you got charred chocolate mess on them.
- Switch tactics and heat up a mug of water for 2 minutes in the microwave, until it is hot but not boiling.
- Pour 10-15 pieces of candy melt into a sandwich baggie. Tilt the baggie so they gather into the corner and place the corner into the hot water so the chocolates are submerged in the hot water.
- Realize after you take the baggie out that you’ve let it rest against the edge of the (very) hot mug, and so the chocolate separated into one part oily mess and one part chunky nightmare. (Here’s a large example of what happens when you overheat this type of chocolate.)
- Throw the baggie out, reheat the mug, pour another 10-15 pieces of candy melt into another baggie, tilt the chocolate into a corner, twist the baggie so the chocolate is lined in more of a vertical tube (like a piping bag), and submerge the tube in the center of the water while you hold it away from the edges.
- After 30 seconds take the bag out and knead the chocolate to start breaking up unmelted pieces.
- Run your fingers under cold water because the bag was hot from being in the mug of hot water and you should use a dishtowel as insulation next time.
- Repeat the submerging and kneading process several times until the chocolate is completely liquid.
- Using scissors, cut a tiny piece of the corner of the baggie off so that there is a small hole to squeeze the chocolate through.
- Pipe the chocolate into your mold. Make sure to overfill the top so that there is enough of a base spreading out onto the clay disk. This will lessen the chance the chocolate breaks when you take it out of the mold.
- When the mold is suitably overfilled, pick it up and tap the bottom of it against the work surface several times to ensure the melted chocolate sets nicely into the mold and gets into all the nooks and crannies, both the ones you carved and the ones left behind by poor sculpting technique.
- Let sit for 15 minutes to cool and set. Clean up the mess you’ve made and probably wash your hands again because why not?
- Peel the clay back away from the chocolate.
You’re done! Take a picture and throw the thing away, because you’ve just coated chocolate of dubious taste in coconut oil and shoved it into clay.
Yields: 24 “servings”
* Note: Doodads are small things to press into the clay to give you better dexterity than your fingers and allow you to actually shape the thing. I used things I found in the fasteners department of the hardware store; their probably-not-real-names are “small metal rod,” “larger metal rod but still pretty small,” “and large square rod.” They were wedged below all the screws and nails and set me back a total of $1.91. (Oh and also a toothpick for fine detail work.)
RELATED


